You’ve seen them on your favorite creator’s desk—keyboards that look and sound unlike anything you can buy in a store. The secret? They built them. Making your own computer keyboard has gone from a niche hobby to an accessible and deeply rewarding project for anyone. If you’re asking, “Can I really create my own keyboard?”, the answer is a definitive yes.
Building a custom mechanical keyboard gives you complete control over the typing feel, sound, and look of your most-used tool. While it may seem daunting, the process is as straightforward as assembling high-end LEGOs. This guide will walk you through everything, step-by-step.
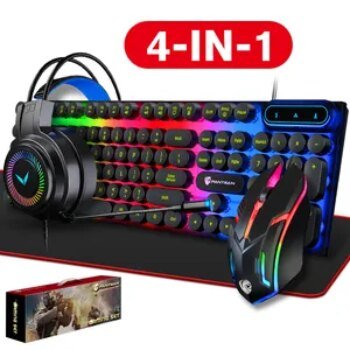
Quick Start: What You Need to Build a Keyboard To build your own keyboard, you need seven core components: a Case, a Printed Circuit Board (PCB), a Plate, Switches, Keycaps, Stabilizers, and a USB Cable. The most critical choice for a beginner is selecting a “hot-swappable” PCB, which allows you to assemble the keyboard without any soldering.
💰Save More with Our Discounts & Coupons!
The Most Important Decision: Hot-Swappable vs. Soldering
Before you buy a single part, you must decide how you want to assemble your keyboard. This is the single biggest choice that will define your building experience.
| Assembly Type | Who It’s For | Process | Flexibility |
|---|---|---|---|
| Hot-Swappable | Beginners (Recommended) | Switches are pushed directly into sockets on the PCB. No tools required. | Very flexible. Easily swap out switches to try new types. |
| Soldered | Intermediate/Advanced Builders | Switches are permanently attached to the PCB using a soldering iron. | Less flexible. Requires desoldering to change switches. |
Our Recommendation for Your First Build: Absolutely choose a hot-swappable keyboard kit. The ability to build, modify, and experiment with different switches without the learning curve of soldering is the perfect entry into the hobby.
Part 1: Your Essential Parts Checklist
A custom keyboard builder starts with the right components. Here’s a breakdown of what each part does and the key choices you’ll make.
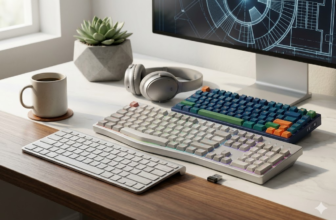
1. The Keyboard Case
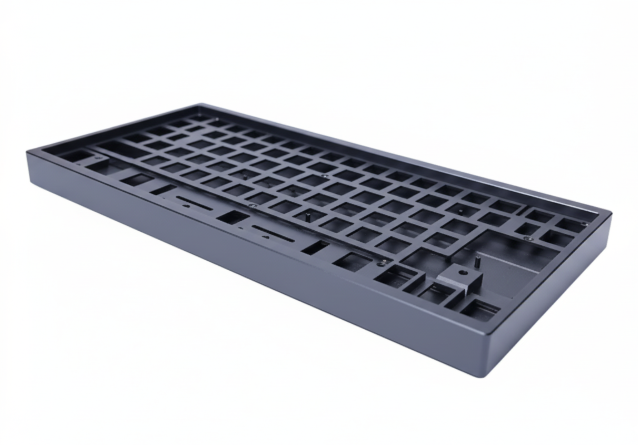
The case is the keyboard’s foundation. It determines the layout, protects the internal components, and plays a major role in the final sound profile.
- Material: Plastic cases are lighter and can produce a deeper sound, while aluminum keyboard kits offer a heavier, premium feel and a cleaner, higher-pitched sound.
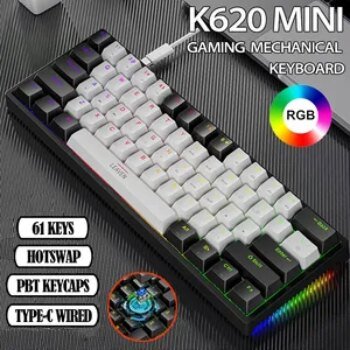
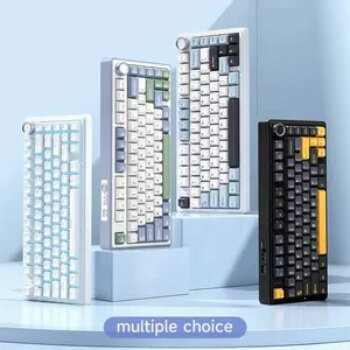
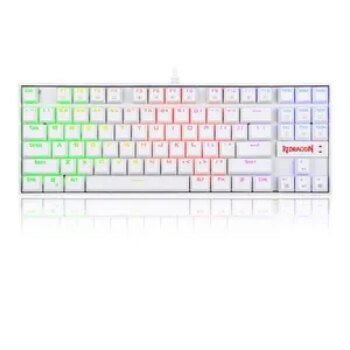
- Layout/Size: Common layouts include Full-size, Tenkeyless (TKL), 75%, and the very popular 60 keyboard kit for a minimalist setup.
2. Printed Circuit Board (PCB)

The PCB is the “brain.” It’s a circuit board that registers your keystrokes and sends the signals to your computer. As discussed, your main choice here is hot-swappable vs. soldered.
3. The Plate
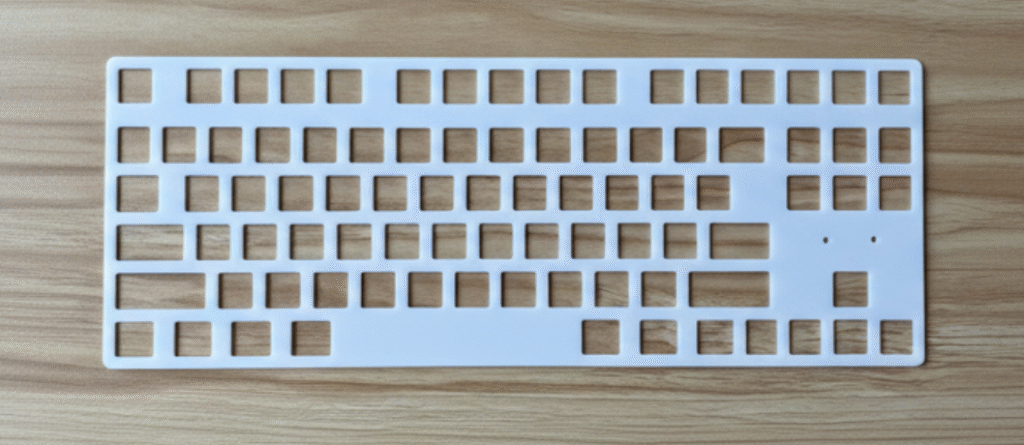
The plate is a rigid layer (often made of aluminum, brass, or polycarbonate plastic) that sits on top of the PCB. It holds the switches securely in place, and its material has a significant impact on the keyboard’s typing feel—from stiff and firm (brass) to flexible and bouncy (polycarbonate).
💰Save More with Our Discounts & Coupons!

4. Mechanical Switches
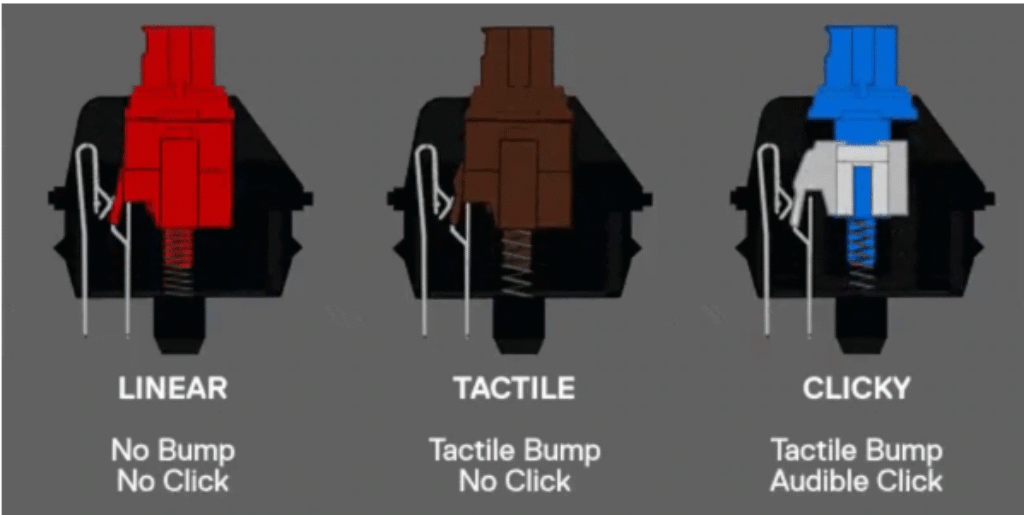
Switches are the heart of the experience. They are the individual mechanisms beneath each keycap that determine the feel and sound of every keystroke. There are three main types:
- Linear Switches: These provide a smooth, consistent keystroke from top to bottom with no bump or click. Their fast and quiet operation makes them a popular choice for gamers who need rapid, repeated keypresses.
- Tactile Switches: These offer a noticeable “bump” in the middle of the keypress, providing physical feedback that a key has been actuated. They are the perfect all-around choice, great for both typing and gaming.
- Clicky Switches: These provide both a tactile bump and a distinct, audible “click” sound. While incredibly satisfying for typists, they are the loudest option and may not be suitable for office or shared environments.
5. Stabilizers
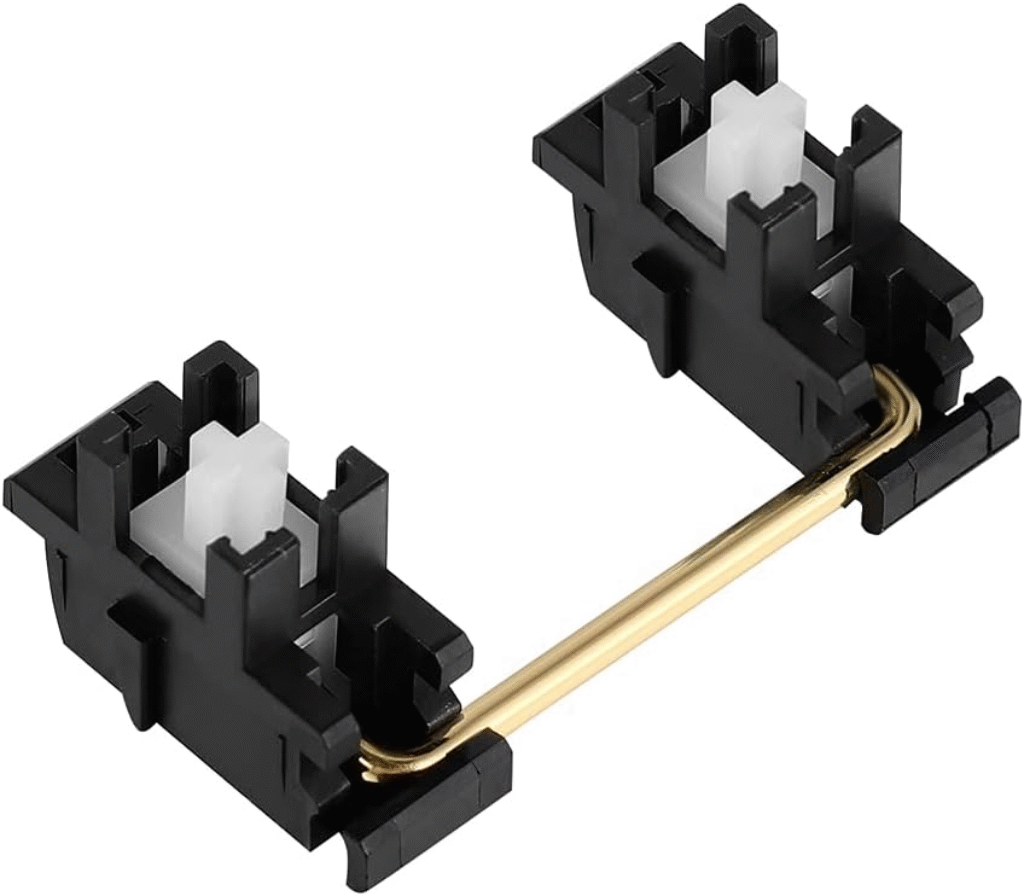
These are crucial for any key larger than a standard letter key (like the Spacebar, Enter, and Shift keys). Stabilizers support these longer keys to prevent them from wobbling when pressed off-center.
Pro Tip: Properly lubricating your stabilizers is the single most important step to making a custom keyboard sound professional and eliminating any annoying “rattle.” This step alone separates a good build from a great one.
6. Keycaps
Keycaps are the most expressive part of your keyboard build kit. They define the look and feel under your fingertips. Key considerations are:
- Material: PBT plastic is durable and resists the shine that can develop from finger oils over time. ABS is smoother but can wear more quickly.
- Profile: This is the shape and height of the keycaps (e.g., Cherry, SA, OEM profiles).
- Legends: “Doubleshot” keycaps, where the letter is a second piece of molded plastic, are the highest quality and will never fade.
Part 2: Your DIY Toolkit
You don’t need an entire workshop. For a hot-swap build, the list of tools is surprisingly simple.
Essentials for Every Build:
- Precision Screwdriver Set: For assembling the case.
- Keycap Puller: A wire-style puller is best to avoid scratching your keycaps.
- Switch Puller: Essential for safely removing switches from a hot-swap PCB.
- Tweezers: For handling small components like stabilizer parts.
Highly Recommended for a Premium Sound/Feel:
- Lubricant: Krytox 205g0 is the community standard for lubing switches and stabilizers.
- Small Detail Brush: For applying the lubricant.
For Soldering Builds Only:
- Soldering Iron: One with adjustable temperature control is ideal.
- Solder and a Desoldering Pump: For making and fixing connections.
Part 3: The Build Process: How to Assemble Your Keyboard
💰Save More with Our Discounts & Coupons!

This is the fun part! Follow these steps for a smooth, successful build.
- Test Your PCB (The Golden Rule)
Do not skip this step. Before assembling anything, plug your PCB into your computer. Go to a keyboard testing website or use software like VIA. Use your tweezers to touch the two metal contacts inside each hot-swap socket. A character should appear on screen. Test every single key. It is infinitely easier to return a faulty PCB before you’ve spent hours building on it.
- Prepare and Install the Stabilizers
Disassemble your stabilizers, apply a thin coat of lube to the inside of the housings and a thicker coat to the ends of the wires where they make contact with plastic. Reassemble them and snap or screw them into the PCB. This is the single most important step for achieving a professional sound and eliminating annoying rattle.
- Mount the Plate and Insert Switches
Place the plate over the PCB, making sure it is properly aligned. One by one, begin inserting your switches. Before inserting each switch, inspect its two metal pins to ensure they are perfectly straight. Carefully align these pins with the holes in the hot-swap socket. To avoid damaging the board, support the back of the socket with one finger and use your thumb to press the switch down firmly until it clicks securely into the plate.
- Assemble the Case
Once all switches are installed, carefully place the PCB/plate assembly into the bottom of the case. Use the included screws to secure it according to your kit’s instructions. If your kit uses gaskets, ensure they are properly seated before you attach and screw on the top part of the case.
- Install the Keycaps
This is the final, satisfying step. Simply align each keycap over the corresponding switch stem and press it down firmly with your thumb. Work your way across the keyboard until every switch is covered.over the switch stem and press it down firmly.
Part 4: Firmware (QMK/VIA) – The Custom Keyboard Creator

Your keyboard’s hardware is now built, but the firmware is what brings it to life. Most custom keyboard kits today support VIA or QMK. VIA is incredibly user-friendly; it’s a simple app that lets you remap keys, create custom layers, and program macros in real-time, no coding required. This is where you truly create custom keyboard layouts tailored to your exact workflow.
Part 5: Choosing Your Keyboard Layout
A major part of the DIY keyboard journey is picking a layout that fits your desk and workflow. A smaller form factor provides more room for your mouse, promoting better ergonomics, while larger layouts offer dedicated keys like a number pad for productivity. Here’s a quick overview of the most popular options.
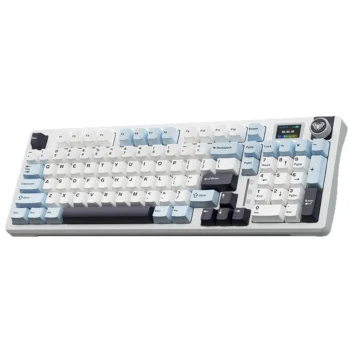
- Full-Size (100%): The traditional layout with a full function row, navigation cluster, and number pad. A full size mechanical keyboard kit is great for data entry but takes up the most desk space.
- Tenkeyless (TKL / 80%): A full-size board with the number pad chopped off. Tenkeyless keyboard kits are a popular, balanced choice that offers a great compromise between functionality and desk space.
- 75%: A compact layout that keeps the function row and arrow keys but squishes the navigation cluster together to save space.
- 60% and 65%: Extremely popular for their small footprint. A 60 percent keyboard kit removes the function row and arrow keys entirely, relying on a function layer (Fn key). A 65% layout adds back the dedicated arrow keys.
Frequently Asked Questions (FAQ)
For a beginner using a hot-swappable kit, it’s not hard at all! The process is very straightforward and similar to building a detailed LEGO set. If you can follow instructions and pay attention to details like keeping switch pins straight, you can easily build a keyboard in an afternoon.
Generally, it is not cheaper to build a custom keyboard. Pre-built keyboards from major brands benefit from economies of scale. The true value of a diy mechanical keyboard is the superior typing experience, sound, and deep customization that you can’t get from an off-the-shelf product. Expect a good beginner build to cost between $150-$300.
Yes, absolutely. The easiest way is to choose a hot-swappable keyboard kit. These kits have sockets on the PCB that allow you to press switches directly into place. No soldering iron or technical skill is required, making it the perfect starting point.
The essential components are a case, a hot-swappable PCB, a plate, switches, stabilizers, keycaps, and a USB cable. You will also need a few simple tools like a screwdriver, a switch puller, and a keycap puller.
Your Journey Begins
Making your own keyboard is more than just a project; it’s an introduction to a passionate community and a deeper connection with the tools you use every day. You now have the complete roadmap from a pile of parts to a personalized centerpiece for your desk.
Ready to start your build? Check out Dealibrium’s guides for deals on the best diy keyboard kits and components, and share your creation with our community!